Recipe of the Month: No-Knead Super-Easy Focaccia Bread
Because I had such amazing success with this recipe, I wanted to share it with you. If you’re in love with the idea of baking but less in love with the execution, then THIS my dear friend is the bread recipe for you.
There’s no kneading and no hard-to-find ingredients. If all you have available is all-purpose flour, yeast, and salt YOU CAN MAKE THIS RECIPE!!! How cool is that?!
Not only can you make this recipe, but you can master it. This easy, restaurant-style focaccia bread tastes like it came served up with your favorite dish from the Italian place on the corner.
Recipe of the Month: No-Knead Super-Easy Focaccia Bread
This easy, artisan-style “No-Knead” focaccia bread recipe was so incredibly easy, and turned out so delicious that I'm sure to make it over and over again! Focaccia has this delicious saltiness and I love the flavor combo with the dried herbs and olive oil.
I’ll include the original recipe, from a Better Homes and Gardens cookbook, which I snapped with my phone from my sister’s cookbook while I was visiting. She made it for us with a big ol’ recipe of “One Pot Spaghetti” (another recipe I’ll make ‘til the day I die and will share with you, I promise!).
The idea of baking anything that involves yeast can be intimidating. And if you don’t bake, you probably don’t keep yeast on hand. So just the thought of buying it seems like a lot of trouble. I’ve been there, but I somehow made it to the other side, and I’m here to tell you that you can, too!
Baking is actually not that scary!!! And yeast isn’t scary either. In fact, the most fun/enjoyable part of baking is the “hands off” time that you’re allowing the dough to rest and rise. It’s so rewarding!
Traditionally, dough would be covered with plastic wrap (it’s in ALL the recipes) but since you’re reading this blog, I am going to let you in on the secret. Beeswax wrap works way, WAY better. In fact, I would love to see every one of these recipes rewritten from “Cover with plastic wrap” to “Cover with beeswax wrap.” I mean, seriously, it just makes more sense that way. :)
If you’re a newbie baker (like me) or just want an easy bread recipe that’s ready before dinner, this “No Knead” focaccia will rule your weeknights. Let’s get started.
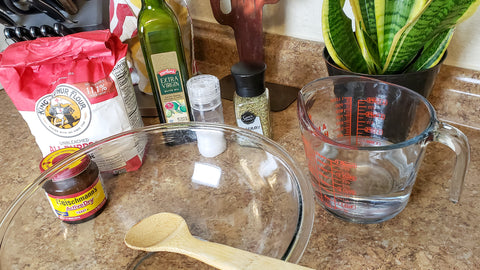
Materials and Ingredients:
- Large Bowl
- Wooden spoon
- An "extra-large" sized beeswax wrap like Ideal Wrap®
- All-purpose flour
- Active dry yeast (do yourself a favor and just buy a jar – it only lasts 6 months stored in the fridge, but it’s WAY cheaper than buying the packets)
- Sea salt / Coarse salt
- Dried herbs such as rosemary or oregano
- Olive oil
- Water, measuring cups, and optional toppings like paprika, sliced Kalamata olives or pepitas
Original Recipe from Better Homes and Gardens
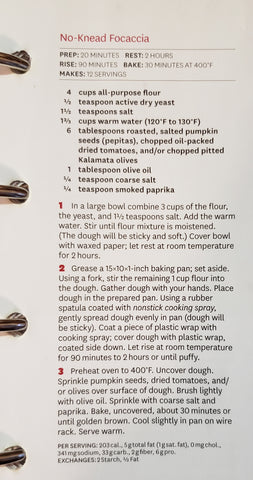
Instructions:
Step 1
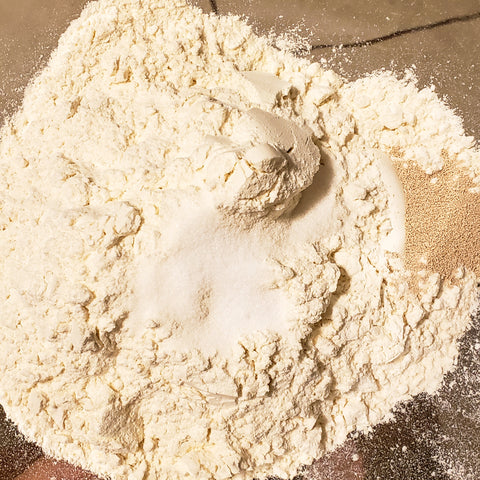
In your large bowl, combine 3 cups all-purpose white flour (substitute up to half of the flour with whole wheat at your own risk) with a ½ tsp of dried yeast and 1 ½ tsp salt.
Step 2
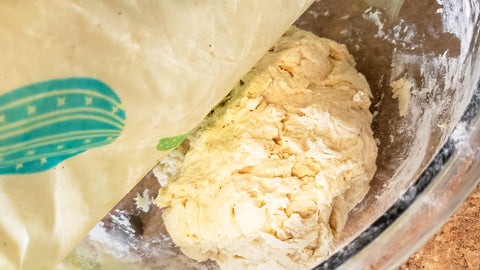
Stir in 1 ⅔ cup of warm (120°-130°) water (best to measure the water temperature using a meat thermometer, as the water temperature is important here) until flour mixture is moist. The dough will be soft and sticky.
Step 3
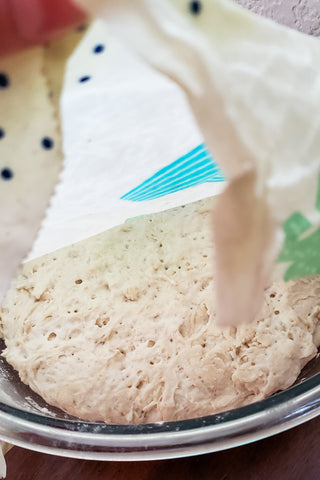
Cover bowl loosely with Ideal Wrap® and find a nice warm place for your dough to rest for 2 hours. Inside the oven with just the oven light on is a great place for rising dough. You can also just find a warm corner of the house.
Look and size right after mixing:
After 2 hours:
Step 4
Find and grease a large baking pan (15" x 10" x 1" is suggested)
Step 5
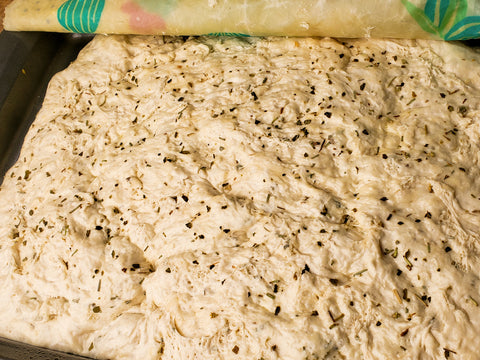
Using a fork (I think I used my wooden spoon), stir in another 1 cup of white all-purpose flour. I also added ½ tsp ground dried rosemary and ½ tsp dried oregano at this stage. If it seems kind of hard to stir in all the flour, then you’re doing it right – just keep at it for a couple of minutes.
Step 6
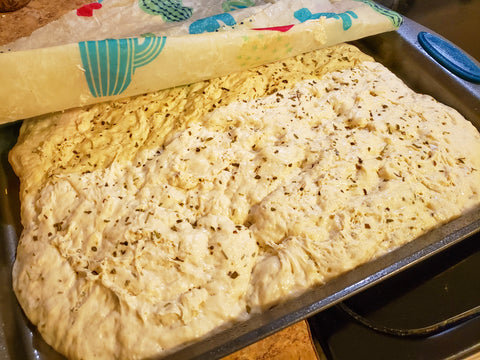
Transfer the dough to the greased baking pan and use a rubber spatula (or back of a spoon) coated in olive oil to gently spread the dough to evenly cover most of the pan. The dough is going to be left to rise again, so it’s not necessary to fully cover the pan, as it will spread out on its own. It’s also a little hard to work with at this stage, but just do your best to have an even dough height.
Spread out in the pan, before rising:
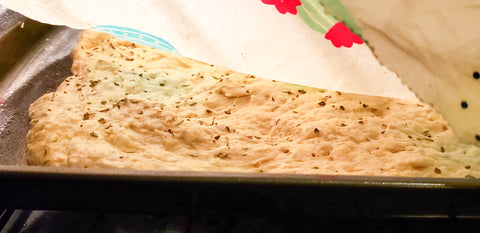
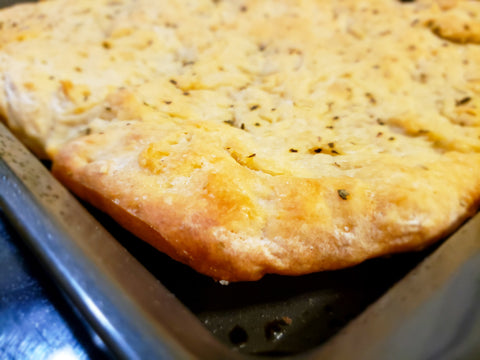
After 2 hours:
Step 7
Very loosely cover the dough with the beeswax wrap and return to warm place to rise for another 90 minutes to 2 hours (go the full 2 hours if you have the time!)
Note: Okay fam, I must interject. I am tempted (oh, so tempted) to tell you to not use your beeswax wrap to cover the oily dough at this stage of the process, but because I believe it’s the best tool for the job, I will instead briefly mention the caveats and let you decide. If you cover the dough loosely (I simply set it on top of the pan) you will not get very much, if any, oil on your beeswax wrap. However, when the dough begins to rise (it will nearly double in size again) you will most likely get dough stuck to the wrap. If you want to keep your wrap pristine you can do wax paper sprayed with cooking spray, but I used my wrap for it and was able to remove most of the dough when it was still sticky. Once the stuck-on dough dries, they can be chipped off with your fingernails or washed off in the sink. I just wanted to mention it so you know you didn't mess up. Read on, baking warriors.
Step 8
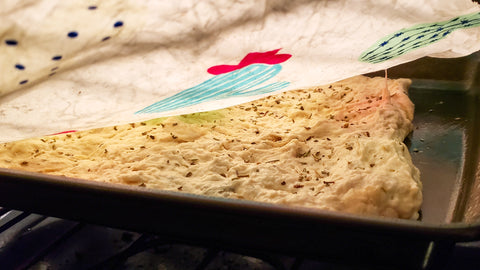
Preheat your oven to 400°. Uncover the dough (very carefully!) and while you behold the wonder that you have so far created, brush oh-so-gently with olive oil and sprinkle with toppings of your choice.
Another note: I used the back of a spoon to smear my dough with olive oil, which is why you can see swirls on the top of my golden crust. I doubt it affects the taste or texture, but it certainly isn’t as pretty as it could be. I don’t actually own a brush for oil, but I am thinking of investing in one. If you don’t have one either, try a piece of lettuce as a brush - wish I'd've read that trick earlier!
For toppings, I used my favorite sea salt with more dried rosemary and oregano. You can also use sliced olives, sun-dried tomatoes, roasted & salted pepitas, smoked paprika, or Parmesan cheese! I think next time I am totally going to try some sliced pepperonis just to be weird. =D
Step 9
Bake for 30 minutes or until golden brown.
Step 10
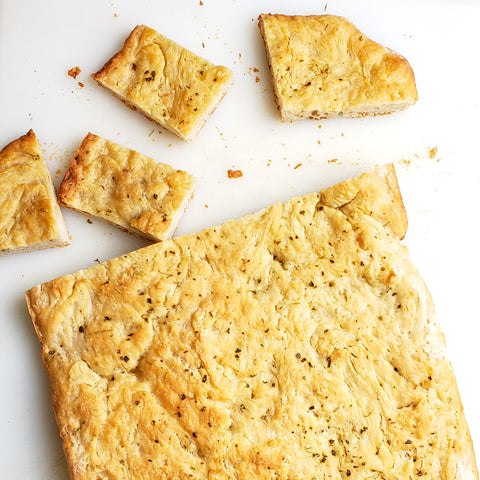
Cool slightly in pan and then transfer to large cutting board to slice.
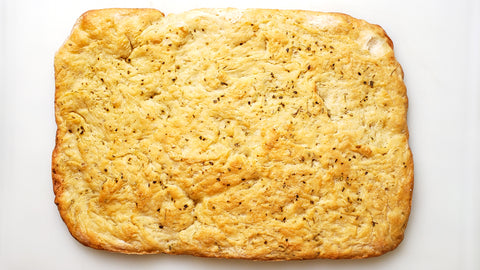
Step 11
EAT THIS YUMMINESS with pasta, your favorite soup, or dipped in olive oil and balsamic vinegar like at that Italian place you like! And don’t forget to give yourself credit for this awesome bread that YOU just baked by hand from a few pantry staples. A novice, no more!
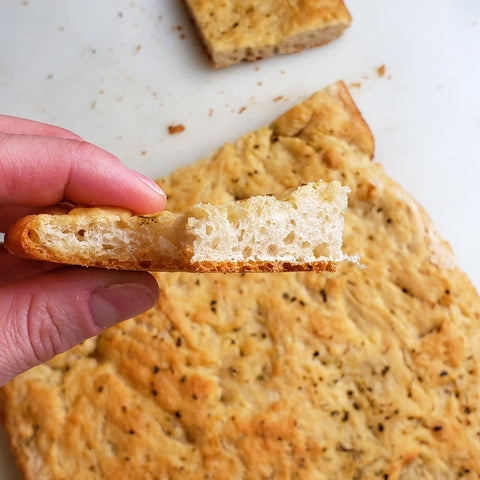
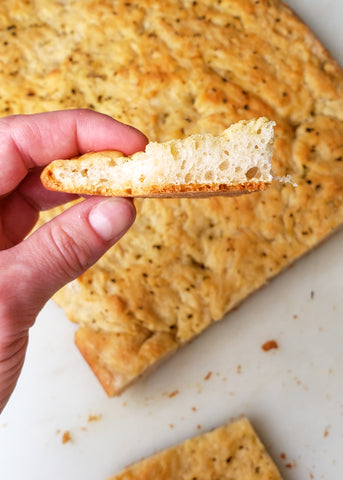
Step 12 (last one, I promise)
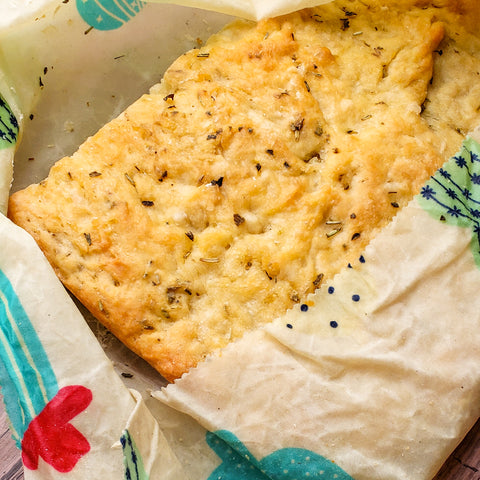
This bread is best enjoyed fresh, and will go stale quickly because of its high surface-to-volume ratio and since its already been cut (an open-crumb stales more quickly than a closed-crumb). If you want to save some for past tomorrow, you'll have to slice and freeze it in a freezer bag, with ALL the air completely removed for up to one month. Reheat only what you're going to eat at a time by thawing in a 375º oven.
Keep whatever you plan to eat in the next 24 hours wrapped in the same beeswax wrap you used for proofing (you can wash it later).
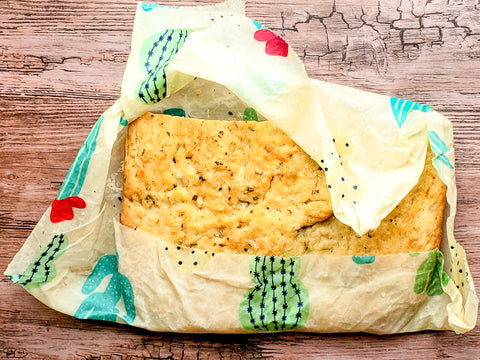
TADA! (in the words of my 2-yr-old niece)
See, that wasn’t so bad! You have seen that baking isn’t so scary after all, and that you barely even have to remember to plan ahead! In fact, you can start this bread at 3pm and still have it ready in time for a late dinner.
Also, don’t forget to pour a glass of red wine with this one – it’s a great combo ;)
If you try this recipe I would LOVE to know!! Please leave a comment here, on Facebook or Instagram or even shoot me an email at idealwrap1@gmail.com. And if you bake with your Ideal Wrap, we would love to see pics!!!