How to Cover a Bowl Using Beeswax Food Wrap
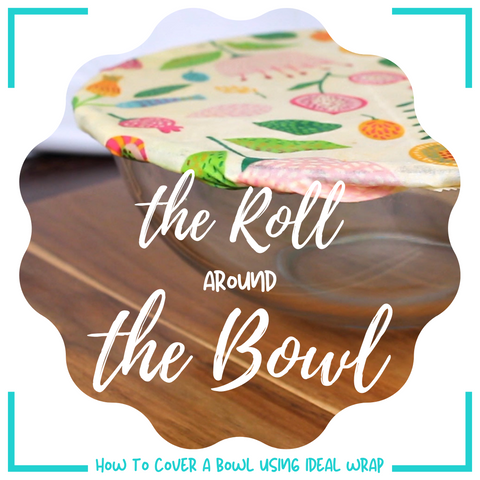
How to Cover a Bowl using Beeswax Food Wrap
This is the ultimate method for covering a bowl using Ideal Wrap or your own homemade beeswax food wrap.
Why this method is best:
- It's super quick to do and undo - just like a lid
- It gives a neat and tidy appearance
- The wrap stretches tautly over the bowl which means no sagging in the middle
- The wrap stays in place and doesn't budge
- The wrap only adheres to the rim of the bowl, meaning less beeswax coating is transferred to the bowl
- The wrap sticks more to itself than your bowl, again meaning less coating is left on the bowl when removed
- The wrap creates a liquid-resistant seal to prevent messy spills
This demo is on a 12" Pyrex bowl with a rim, but this method can be applied to any bowl with or without a rim, including measuring cups and casserole dishes!
Just make sure your wrap is large enough to drape over the bowl on all sides.
Enjoy the video!
What's the trick to the Roll Around the Bowl?
The trick to the Roll Around the Bowl is folding over small sections at a time, with each small section (about an inch) overlapping the previous section.
You also want to use light pressure to adhere each section, and stretch the wrap ever-so-gently as you make your way around the bowl to create a taut covering.
Once the wrap is secured all the way around, you have a breathable yet liquid-resistant cover for your favorite bowl!
Great for covering slaw, rising dough, resting batter, leftovers, salads, and more!
This tutorial features our beautiful Garden Party print!
Any other tutorials you'd like to see? Leave a comment below. And let us know if you enjoyed the video! For more great content like this, plus insider promotional deals, consider becoming a newsletter subscriber.
Cheers!